Chalkboard Calendar
I have had this vision in my head for a r e a l l y long time. The problem was finding the right spot in my house to put this vision. We needed it to be a place where everyone could see it. I thought about doing it in our hallway. But the hallway is narrow. And dark. And currently getting ready to redo it, to make it brighter, and this would have gotten in the way of everything. Then I thought about this open spot by our front door. Nope. I am going to redo the entry way as well and I have that whole wall planned out. So, there it sat. My idea. In my head. With no place to put it.
And then it happened...this weekend. When The Mister was leaving to go out of town with a couple of the kids and go dirt bike riding. The light bulb went off. I honestly, don't think he made it to the freeway before I was calling him and rambling my idea off in hyper speed a mile a minute. I have to say, I'm a lucky girl. When I get something in my head and I get a moment to execute it my man just simply says, "What ever you want to do babe. It's all up to you." I love him. He lets my creativity flow with no restrictions.
Okay, back to my idea, the first thing I needed to do was my research. I have to say, it pays off! In this case, if I had rushed out and bought everything I needed, it would have been wasted money and I would have had to return everything, which results in a waste of my time. I do not like running around to various store for no reason. Honestly, who does? I like to tape out my big projects, sometimes even sit on them for a couple of days to see if it's something that I really want in that location. I measured and lined up where I wanted this project with painters tape and stared for a while....at this.
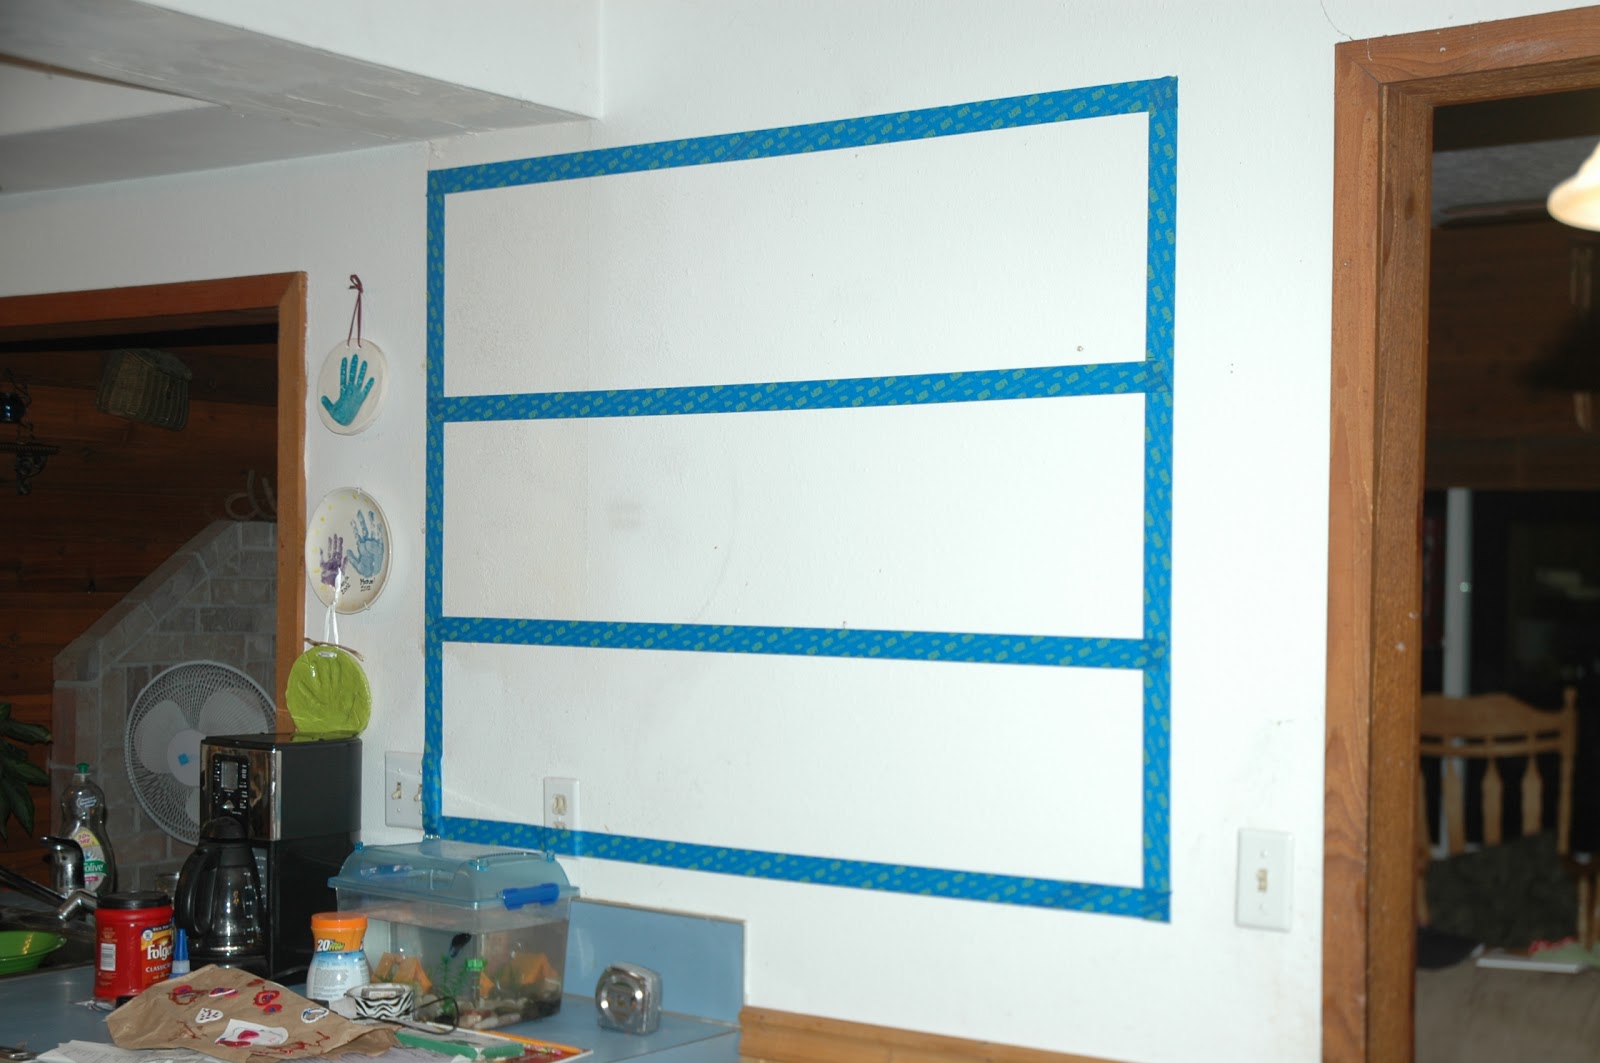
But see, this....was my problem.

Yup, the 3 mirrors, I had originally planned on putting chalkboard paint on and then turn into a large readable calendar was NOT going to work, they were going to be too big.. FAIL! My precious idea was failing. I was devastated, but yet determined to figure this out because I wanted we needed this calendar. So I slept on it; woke up fresh and rejuvenated, we went to church, and then when I got home again it came to me. I started searching the garage, because I just KNEW we had scrap pieces of wood in the garage AND I am allllll about using up scraps and working with what we have, repurposing, if you will.
Turns out that we had everything I needed. Except the paint. No biggie, the chalkboard paint was less than $10. What I was looking for was a 48 x 36 piece of MDF backing, which is a super thin plywood. What I was found where 2 pieces of 48 x 24 in our garage from a previous project. Since the space I had taped out was 48x36, yes this is a big calendar but we have a big family with big activities, I was only going to need one and a half of these MDF boards. I measured, many, many times, and use the T square to get my straight line down the middle of the board. Had I been thinking I would have taken photos for you, but I was caught up in completing my calendar...bad blogger, sorry. I got to use The Mister's table saw, I like to joke with him that it's just like using a sewing machine. Just a straight stitch down your line, not really. I got this, sorta!

I had to do a little bit of multi-tasking. Nothing like making dinner for the kiddos and painting MDF board on the kitchen counter at the same time. All is well, and we didn't eat the paint. :) Yes, I did use the dog kennel as an additional counter for the 2nd piece of wood dry...I tell you our kitchen is small and that's how I roll, using what I've got, where I've got it. :)
I had a sample container of a very soft grey. It was BEHR - Igloo, it was such a soft grey that it appeared white. I also used a 1/4 inch nap roller. You could use a foam roller too. But like I said, I'm all about using what I have on hand, and those rollers and paint were in our paint storage container.
Now comes the fun part...I nailed the snot out of it to wall, especially along the seam. I didn't want any movement, because I didn't want the seam to break or be seen later with any cracks. Afterwards, it was time for the wood putty. I put putty all over that baby. Sealing up the seam.
 |
| You can see the seam of the putty, since it's drying, in this photo. |
Now, you might be wondering why I just didn't paint this directly on the wall? Eventually this wall is going away. It will be a part of our kitchen/great room remodel. I can at least, relocate our calendar when this wall goes away. But until then, this is the most beneficial wall to have it on.
Once the putty dried. It was sanding time. I sanded, and puttied and sanded again.
I chose to hang the trim work before I measured and taped out the squares. It was going to be easier to make sure that the squares were equal both horizontally and vertically, since I just needed to work with the inside measurements.
 |
| It looks like a white board right now |
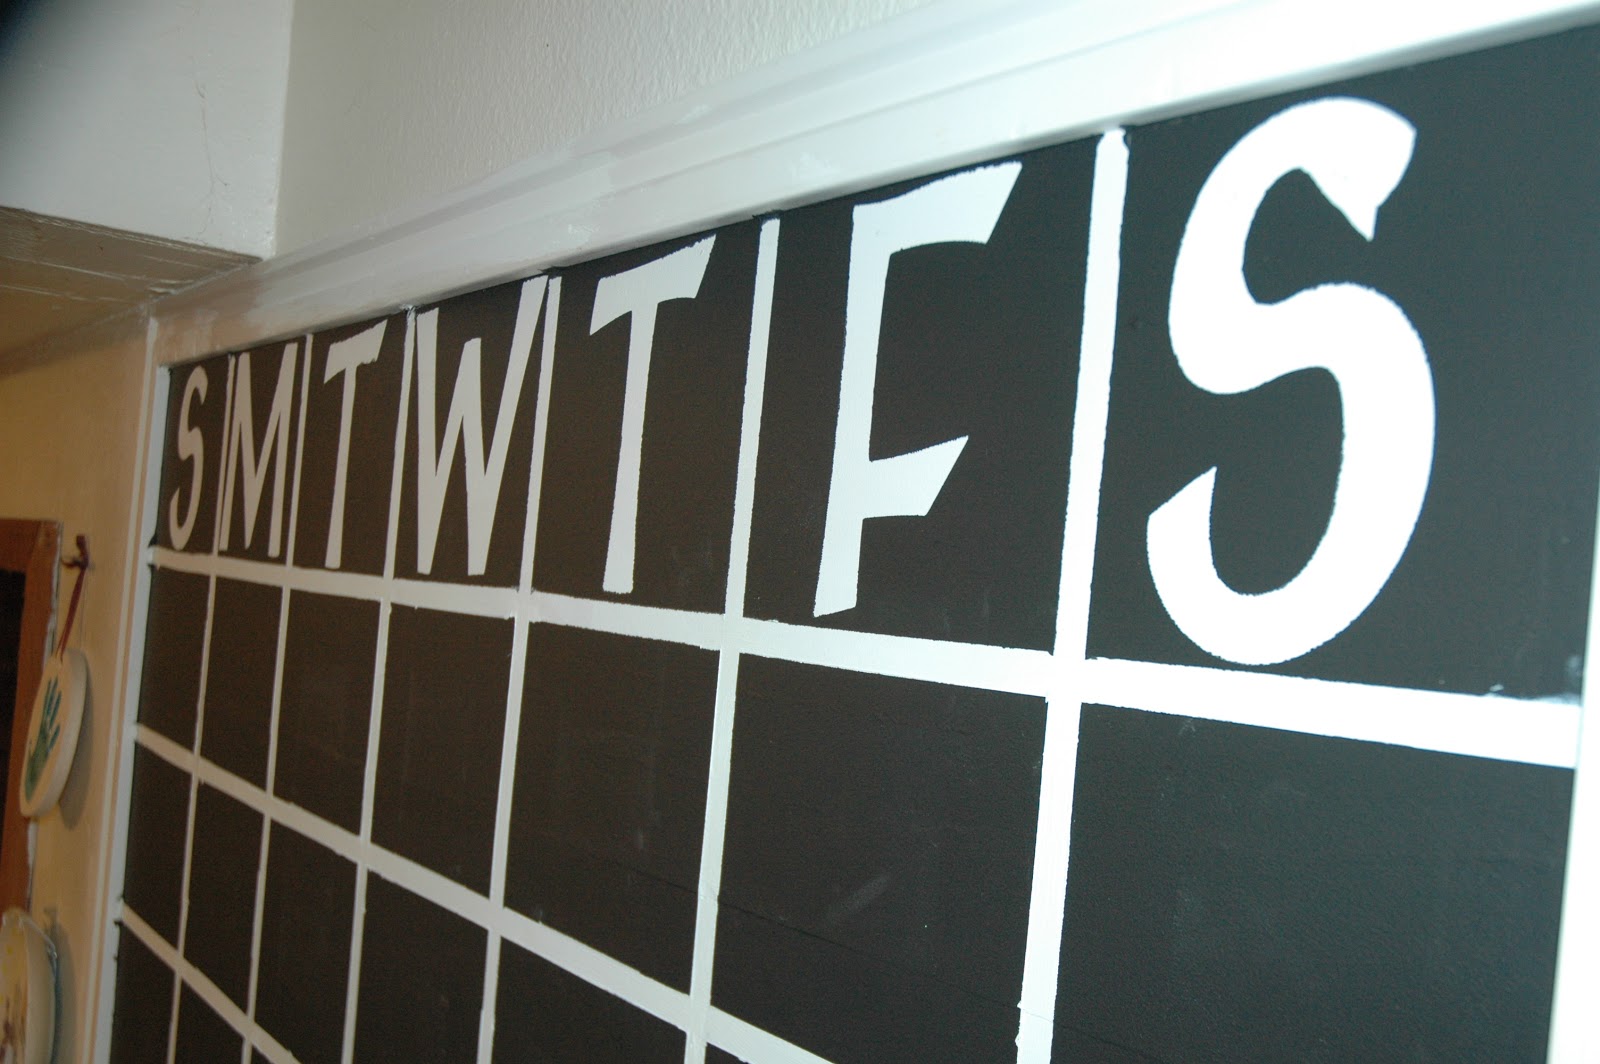
Then it was time to TAPE! THAT! CALENDAR! Yay! This proved to be a little more time consuming then I had original anticipated. I needed to measure out my width and my length. My length, needed to be divided by 7 so that I could fit all the days of the week in there. Next, I needed to measure out the width, and I did it by 6. One week for the days of the week. Five for the weeks for the month. So, if you followed all that craziness my calendar is a 7x6.
Piece of advice: Cut your tape and the ends. See how I have mine wrapped around the trim pieces. Ya, don't do that. It caused for a little bit of bleeding. Not to thrilled about it. Lesson learned.
Piece of advice: Cut your tape and the ends. See how I have mine wrapped around the trim pieces. Ya, don't do that. It caused for a little bit of bleeding. Not to thrilled about it. Lesson learned.

I am still borrowing my friend's Cricut and I printed/cut out the first letter for the days of the week. I set the Cricut to 5, since my squares were about 5.25 x 6.5 each. I could have gone a smidge smaller, but I like the way it's turning out. I wanted it big and clear for the kids and The Mister to read.


This was the first coat. I did about 3 coats of chalkboard paint because I wanted it nice and even.

Peel the tape off and WA-LA!!!

The last step to the chalkboard paint is the prime the paint. Meaning you I color chalk all over the board and then wipe it off.

I am still trying to figure out if I want to paint the trim or if I want to paint the walls. I am thinking about painting the walls.
Now, just write up your schedule for the month!

Cost:
Wood trim: FREE
Vinyl Lettering: FREE
Chalkboard Paint: $9.98
Sample Paint: FREE (already owned)
MDF Wood: FREE, but about $4 each
So, $9.98 for an organized family...small price to pay for a happy wife. :)
What do you think? Have you ever used chalkboard paint? How do you organize your busy family's schedule?


I saw one of these on the Lowe's Pinterest page. It covered the entire wall.
ReplyDeleteOh my gosh, wow! Huge! I wish I had the space for that, but you know my home, and I don't. :)
DeleteMiss you! xoxo