Our Floating Shelves
A while ago, I was scoping out this website where you can get all these woodworking plans for free. There are plans to build things like furniture for your home, toys for your kids, and even patio sets, along with so much more. This amazing site is one of the ones that got me hooked into the world of blogs.
It started when I saw these floating shelves used in a home on this blog and I just KNEW I had to make some of them.
So, I went out and bought the lumber, as per the directions and cut list. This was my very first wood working project and The Mister was so good with teaching me how to pick out the right lumber and what to look for with bad lumber.

He taught me to measure, over and over, before you cut...
How to use his tools...

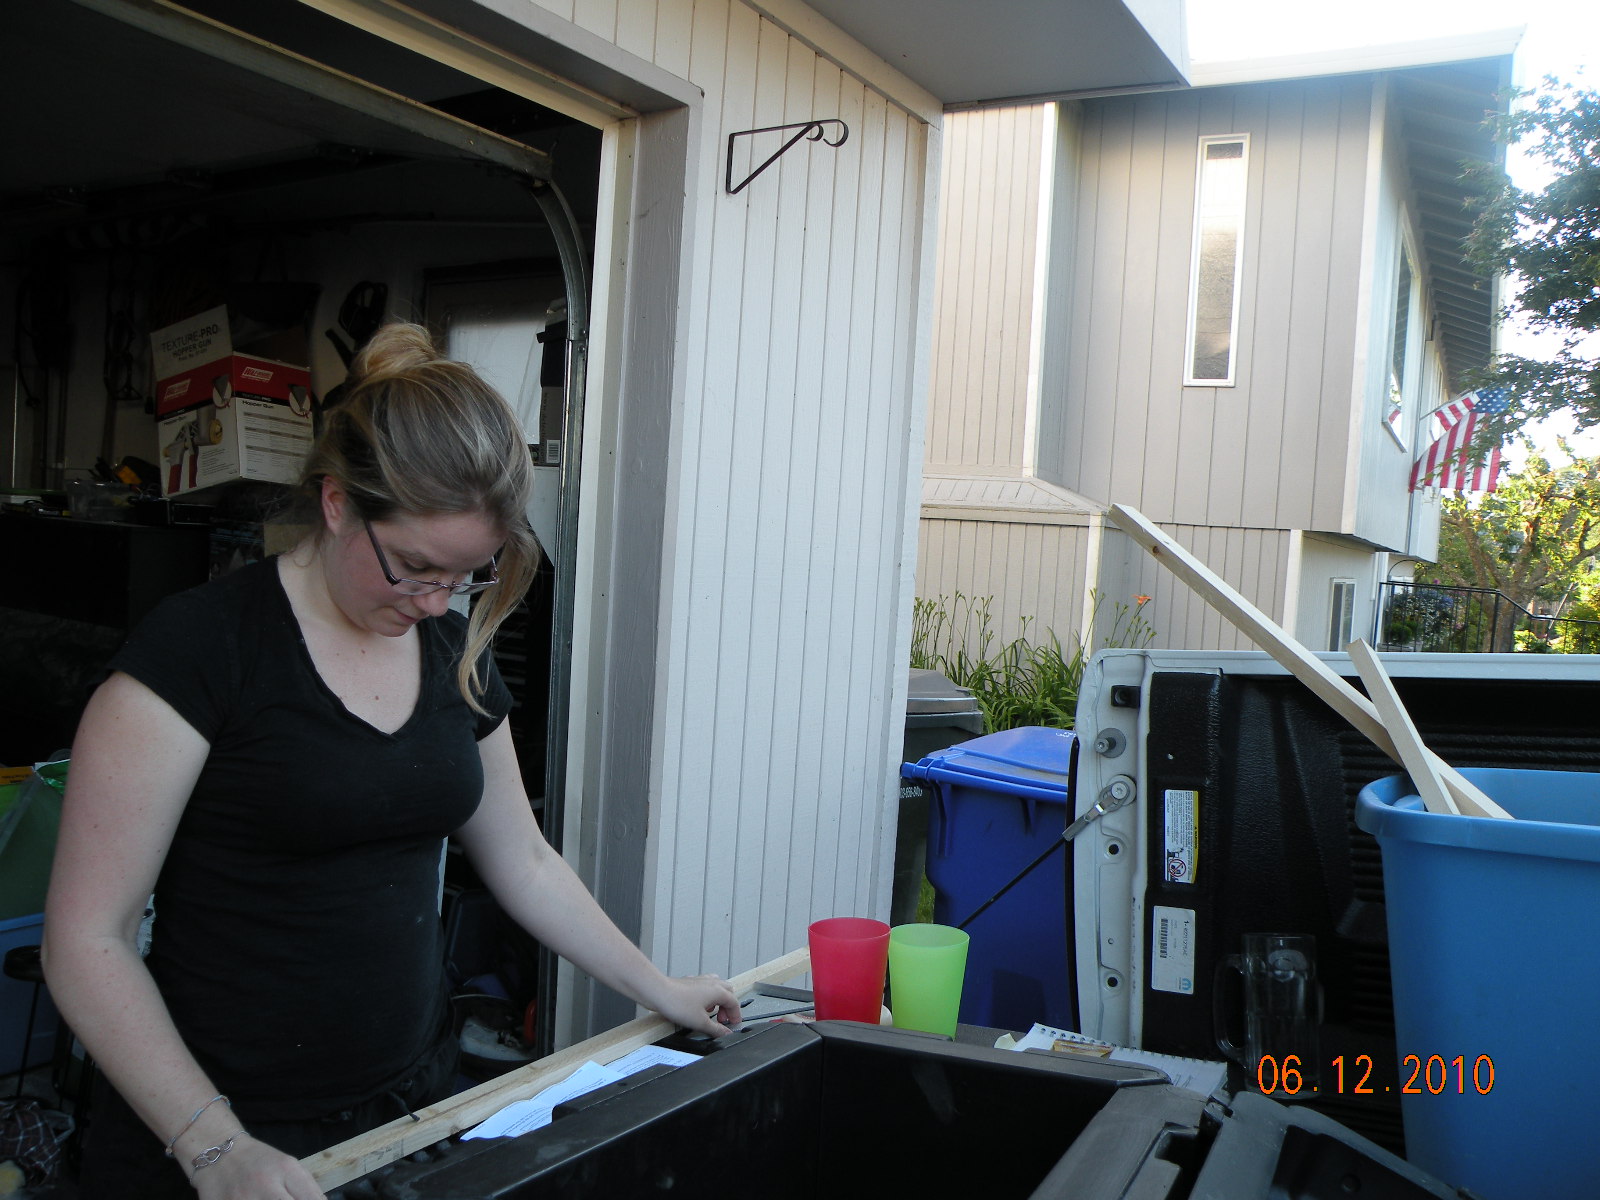
It was a mixture of hard work, fun, and learning. Before long, we were tripping over each other in the garage and waiting for one another to finish up with a tool, so I moved to the driveway and turned the tailgate of his truck into my work bench.

Note: Always wear proper safety gear. Safety glasses AND closed toe shoes aka sneakers...not flip-flops.

He even taught me all about sinking the screws into the wood and how to make sure things were square. I would have never known how to do any of that. Who knows what my shelves would have looked like in the end. :)

So here you have the three inserts for the shelves. This is what is going make them "float".

Here is the shell, the case, the actual shelf all made out. Which I chose to primer and paint black.

This project was a true test of my patience. Not that it was hard, because it wasn't...and not because it was time consuming, because all in all, it really wasn't. I just worked on it a little bit every night after work and on the weekends for a couple of weeks (schedules permitting). It was just a little big for my first wood project and I had a few learning hiccups along the way. Nothing The Mister couldn't fix for me and show me how he fixed it.

So I taped everything out. I always do. I wanted to make sure that shelves were going to be equal heights apart from each other, level and even on the vertical sides as well as horizontally. I had taped a yard stick (as you can see in the above photo on the right hand side). That is to make sure that each of my shelves are lined up on the ends equally.

Once I had them all marked up; The Mister came in and did the hard part for me. Getting them onto the wall. Here he is attaching the frame to the wall.

So the actual shelves, the casing, that were built, slide right on top of these frames. It was so neat.

Note: To the left is a collage of pictures that I had planned on putting up there, but was trying to decide if they were going to look good. Again...taping and planning.
 |
| Before: Family photo gallery wall, hanging by ribbon on staggered curtain rods |
 |
| After: A select few photos, some books, plants and a few other items. |
I could not believe that I built these. I was so proud of my self. Seriously, Ana's plans are SO, SO, easy to follow. If I can do this. You can do this! Do not be afraid to try something new!
Have you ever done a wood working project before? What was it? Was it hard? Please share in the comments below.


Me and Brian made a dog house and a reptile enclosure.
ReplyDelete